TAURED PROJECT
A New Nation for a Golden Age
Home
The Project
Become a Citizen
The Origin
Articles
The Origin · Part 3 Appendix
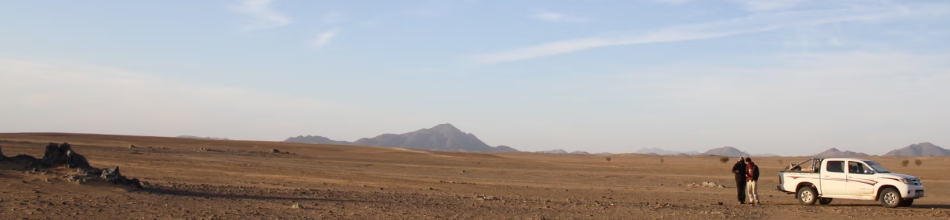
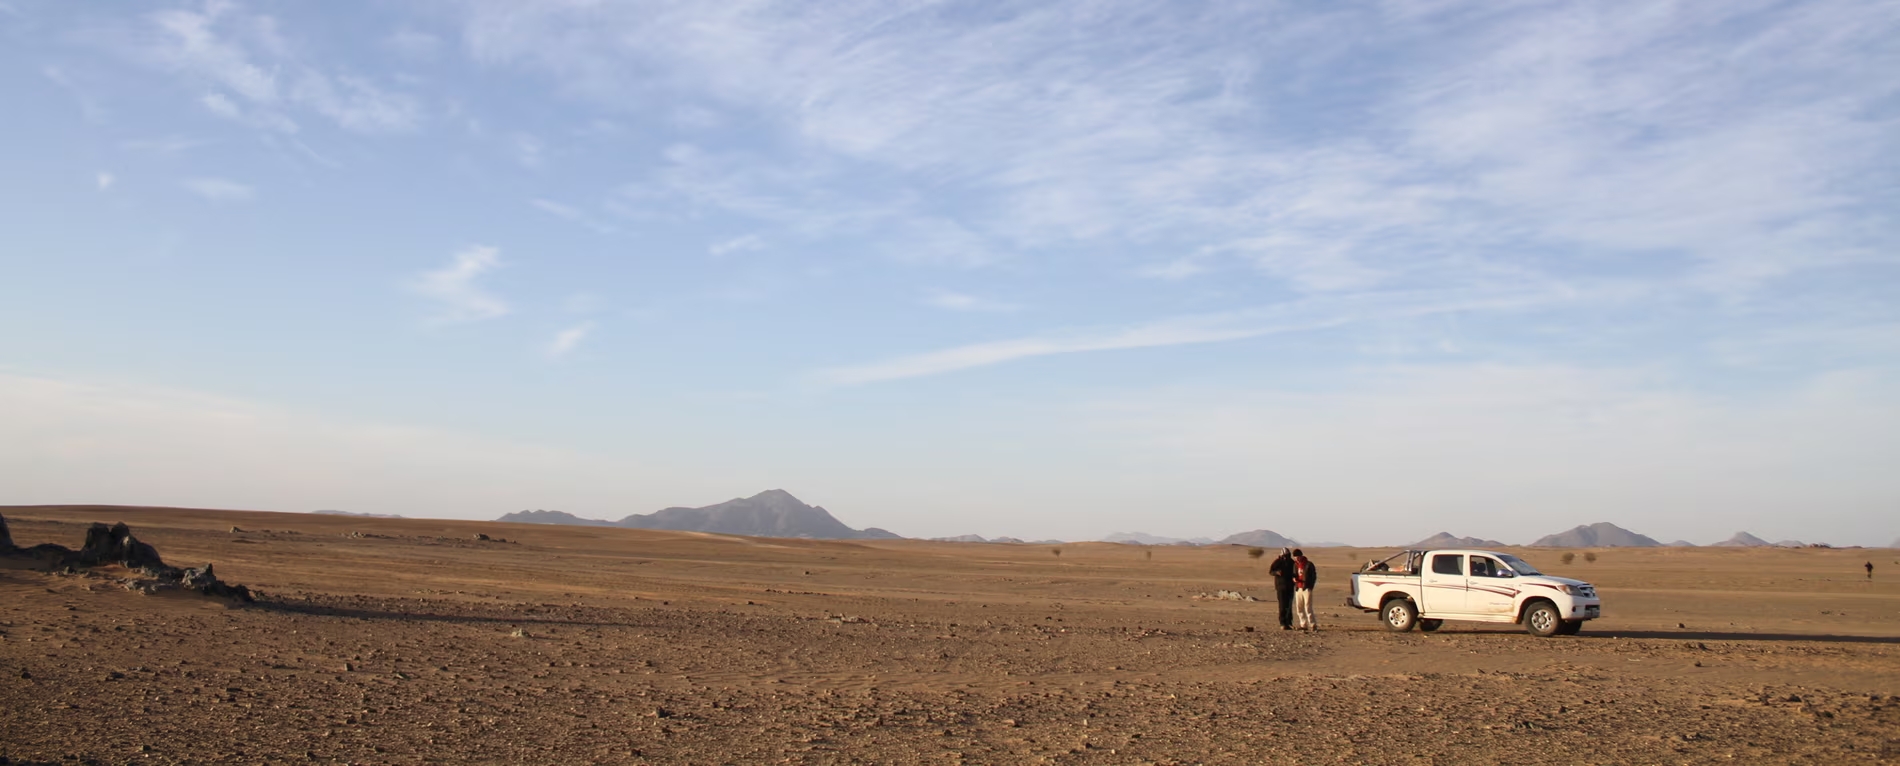
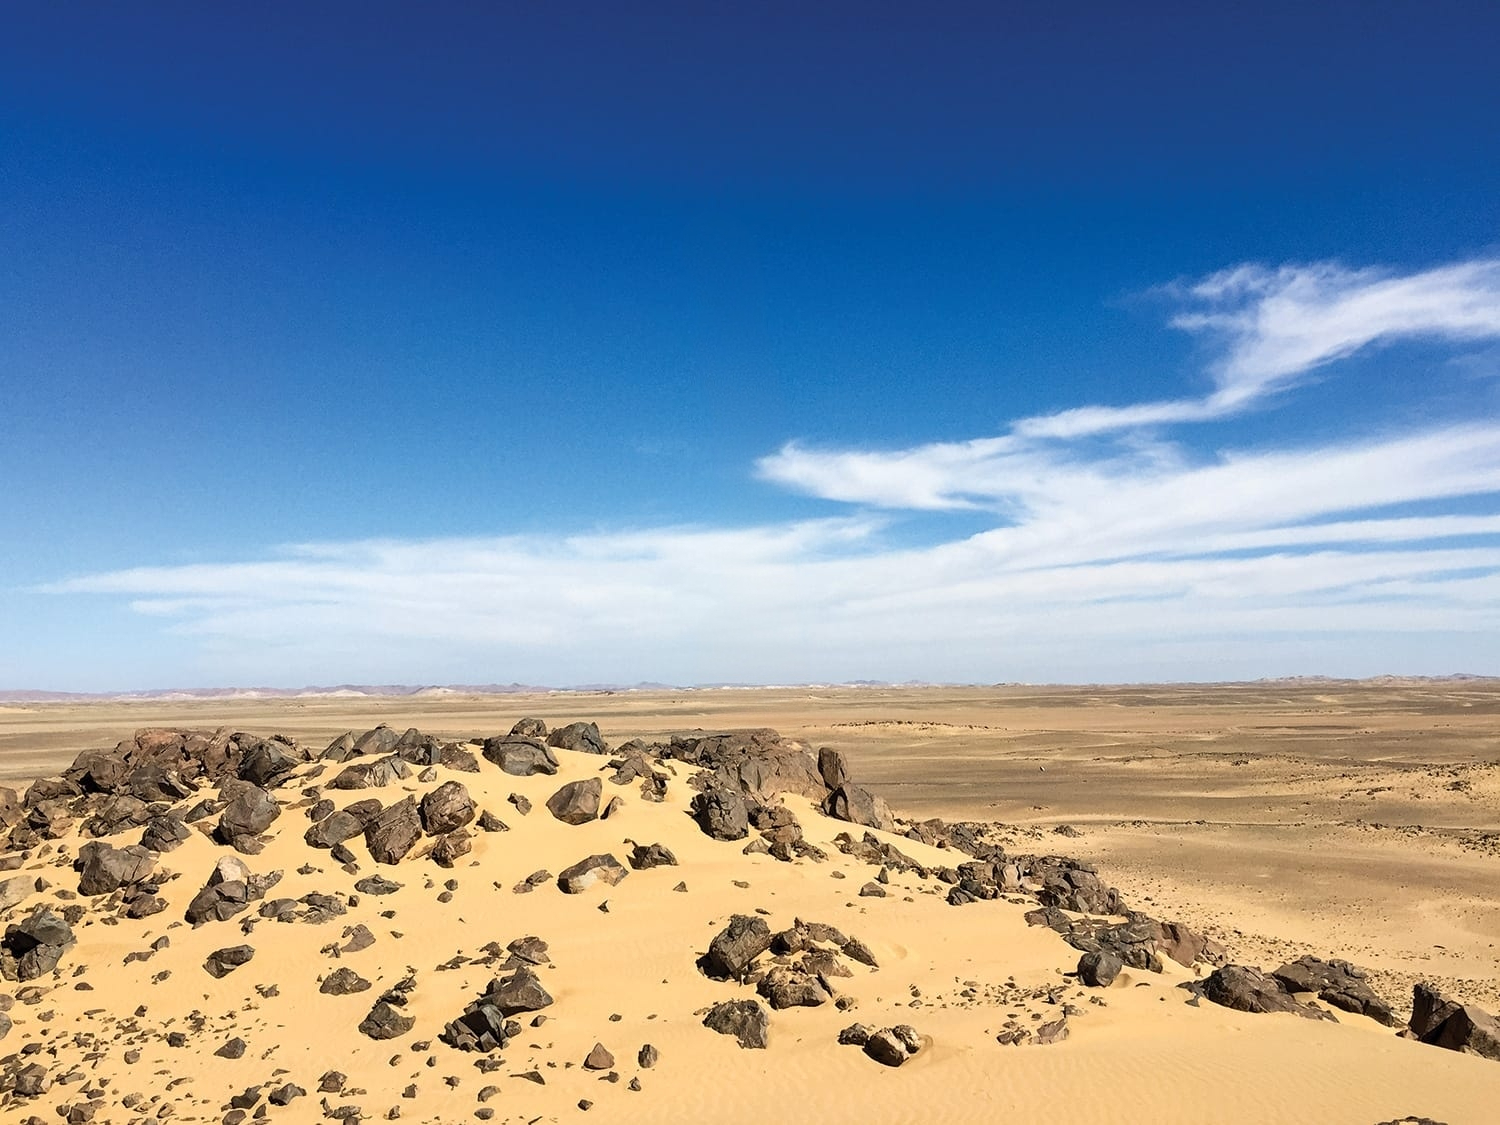
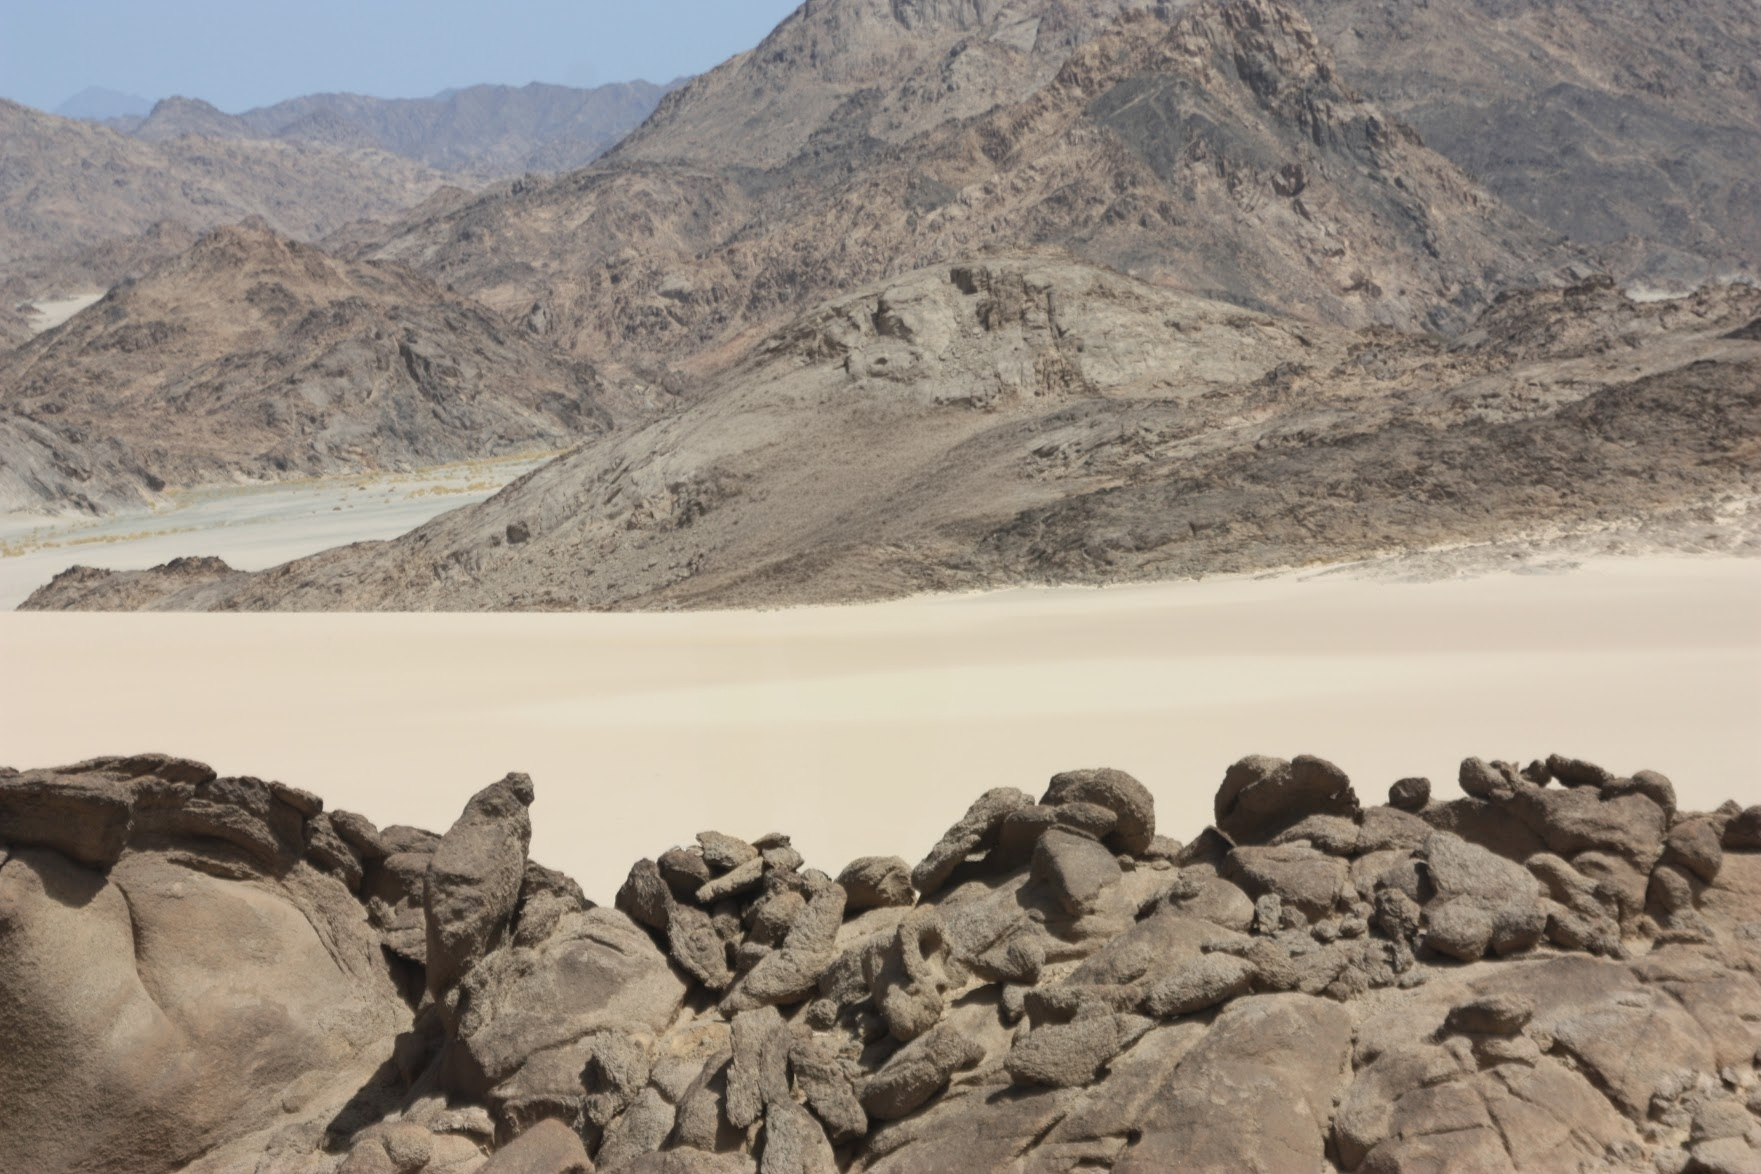
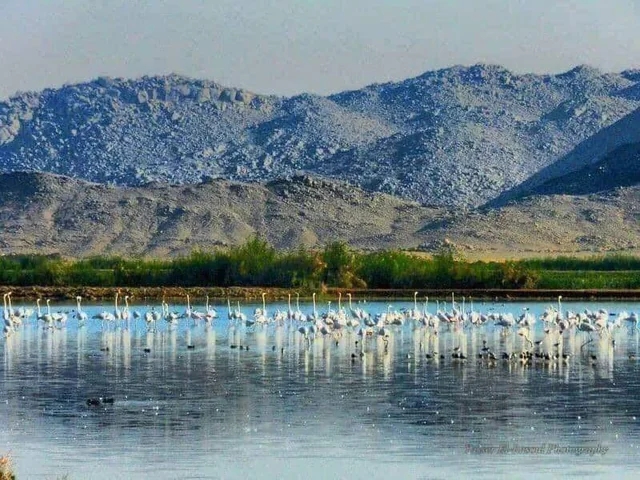
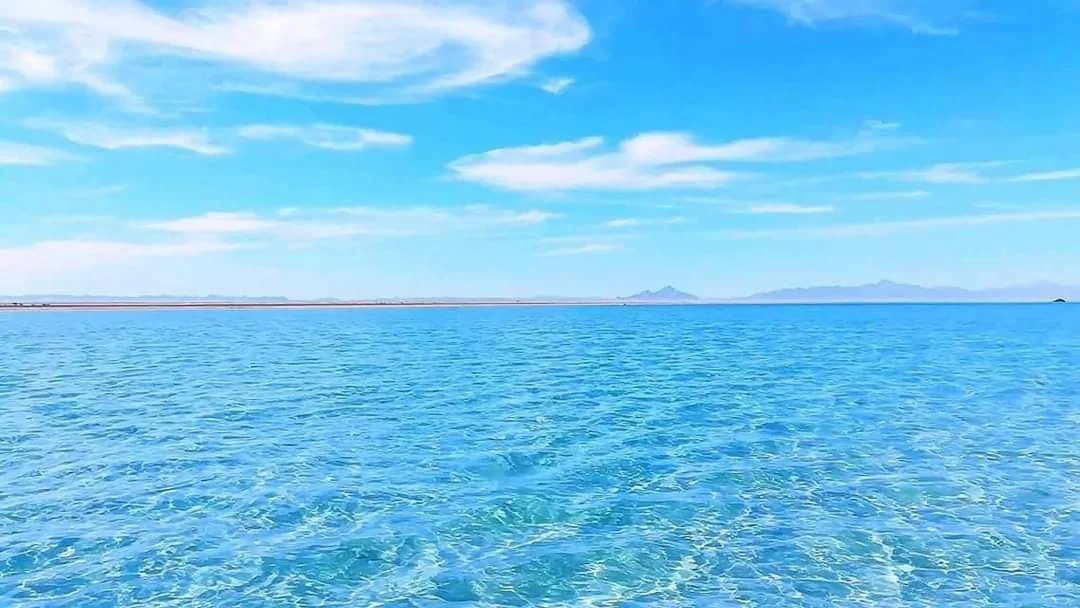
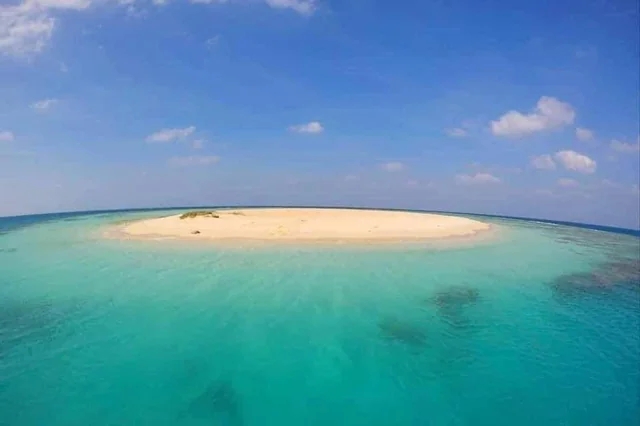
Photos of the Candidate Territories
Bir Tawil
Hala’ib Triangle
More photos of the Hala’ib Triangle:
igortodisco.com
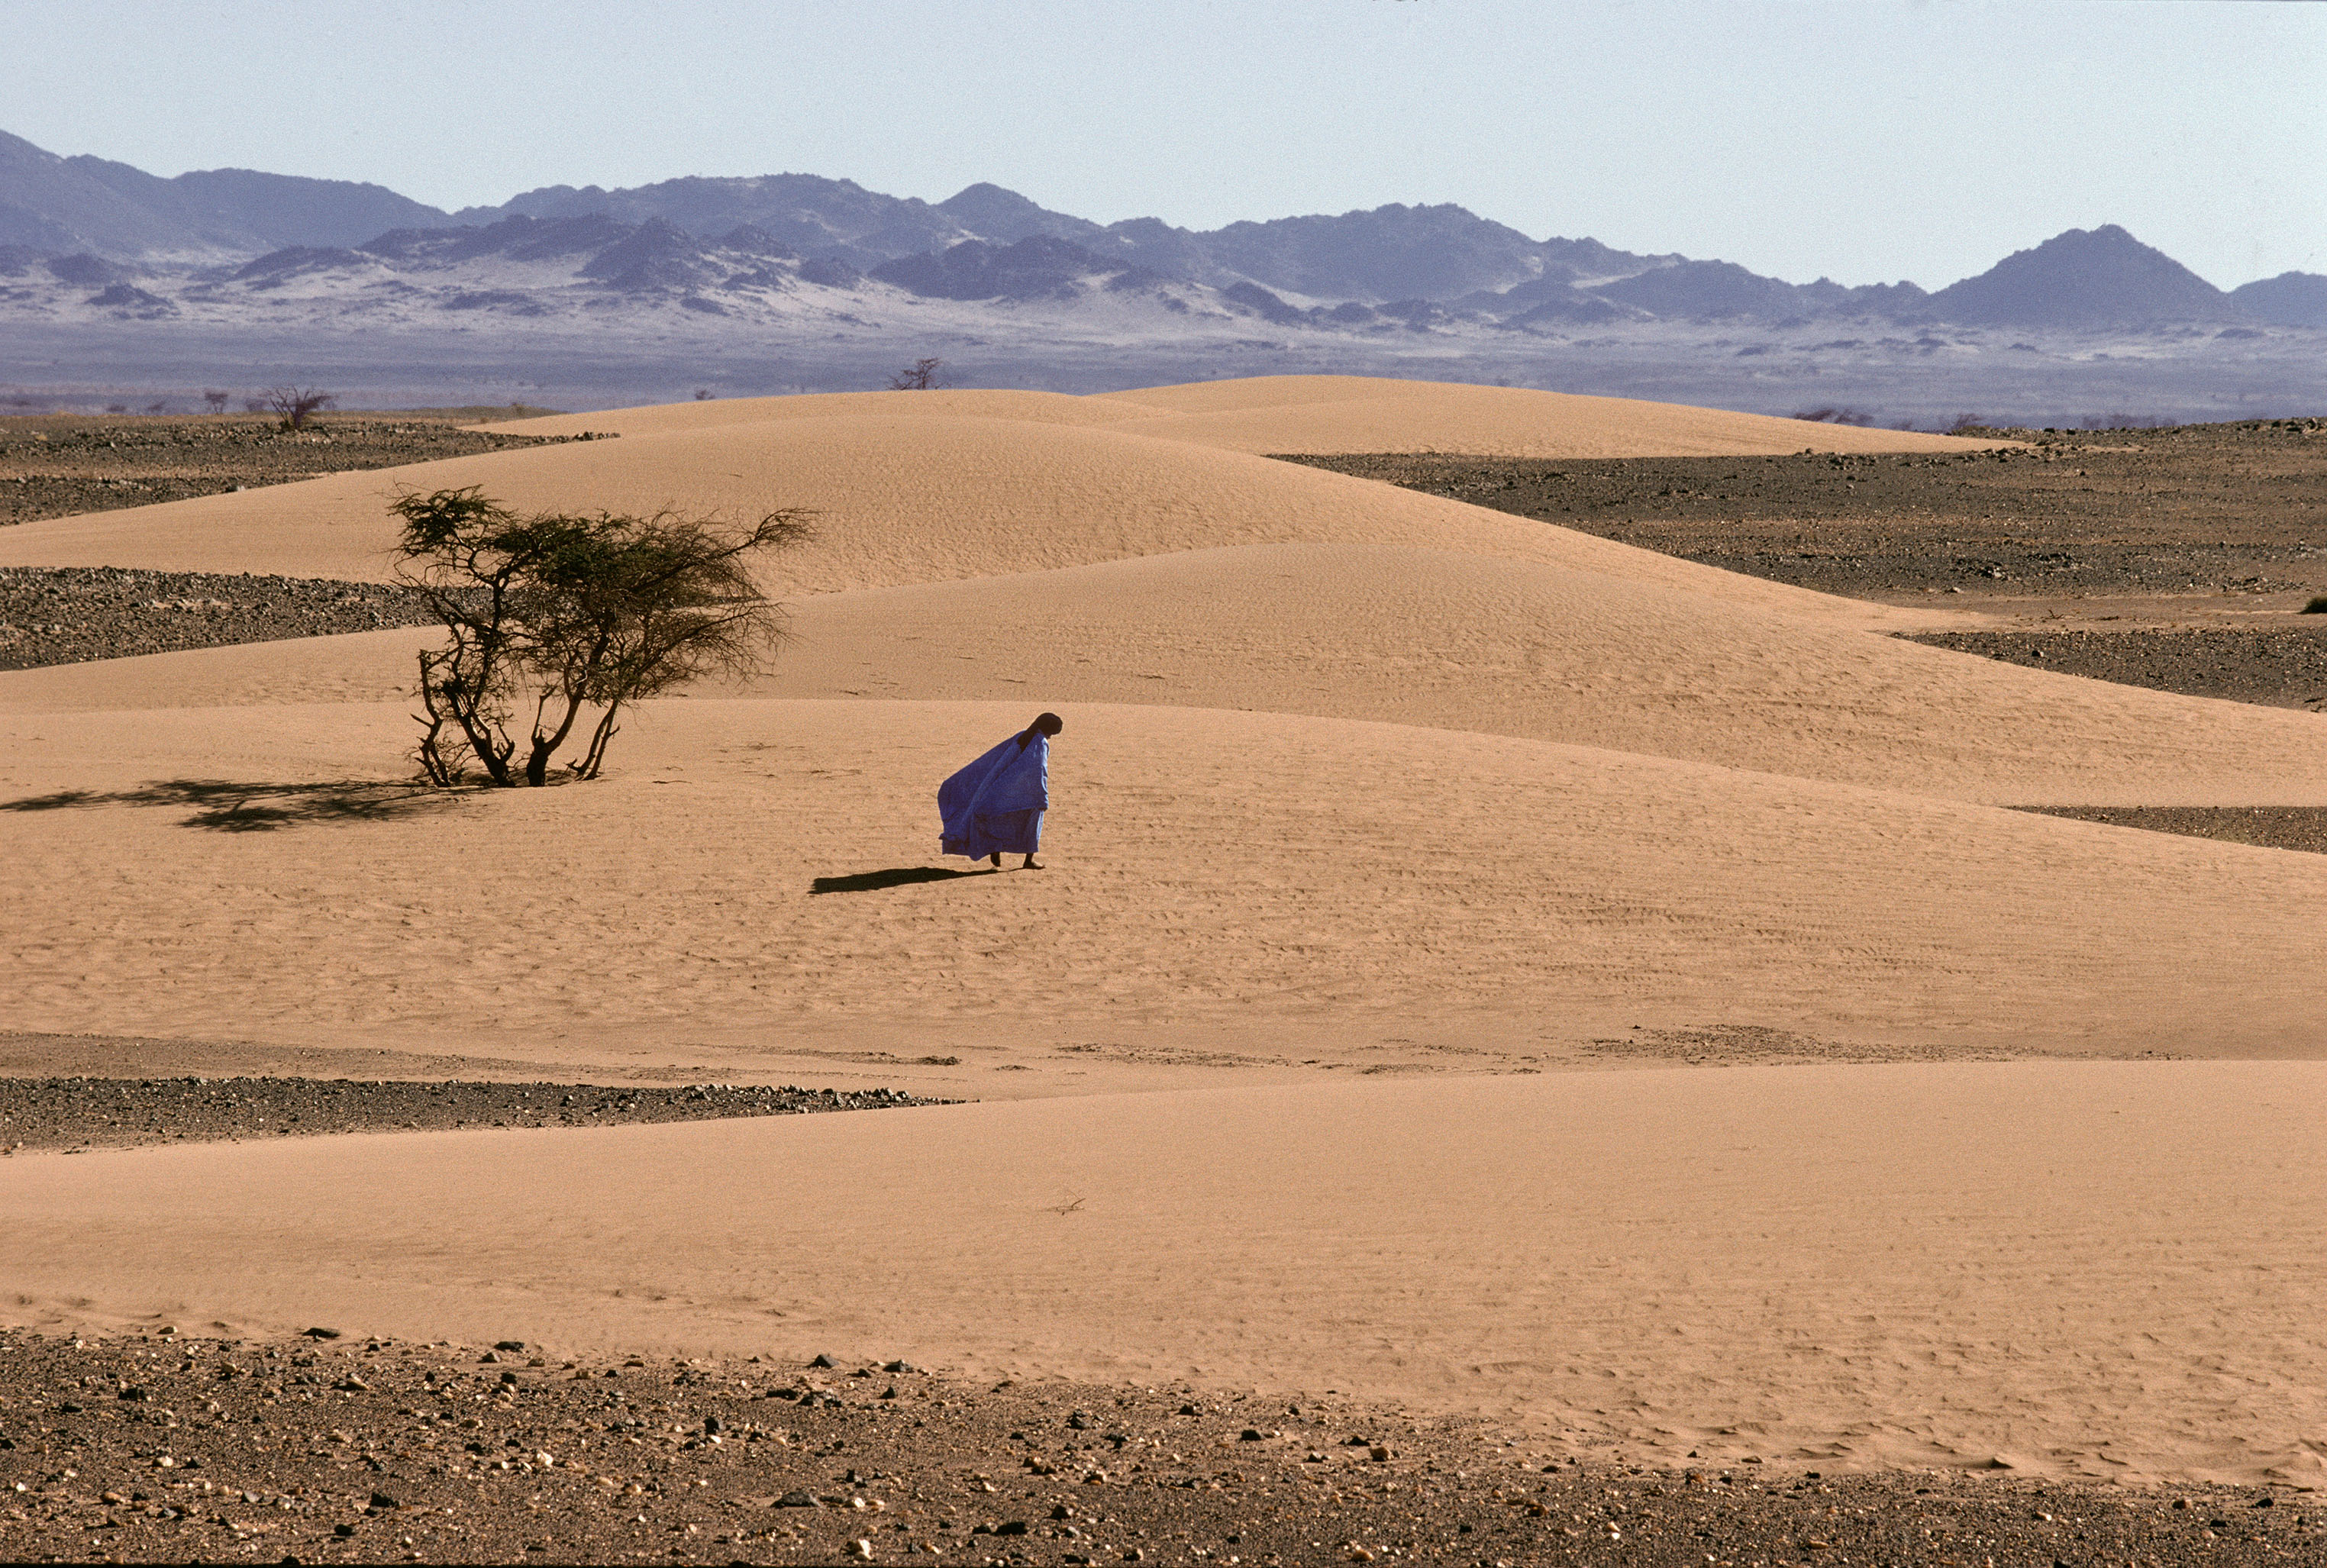
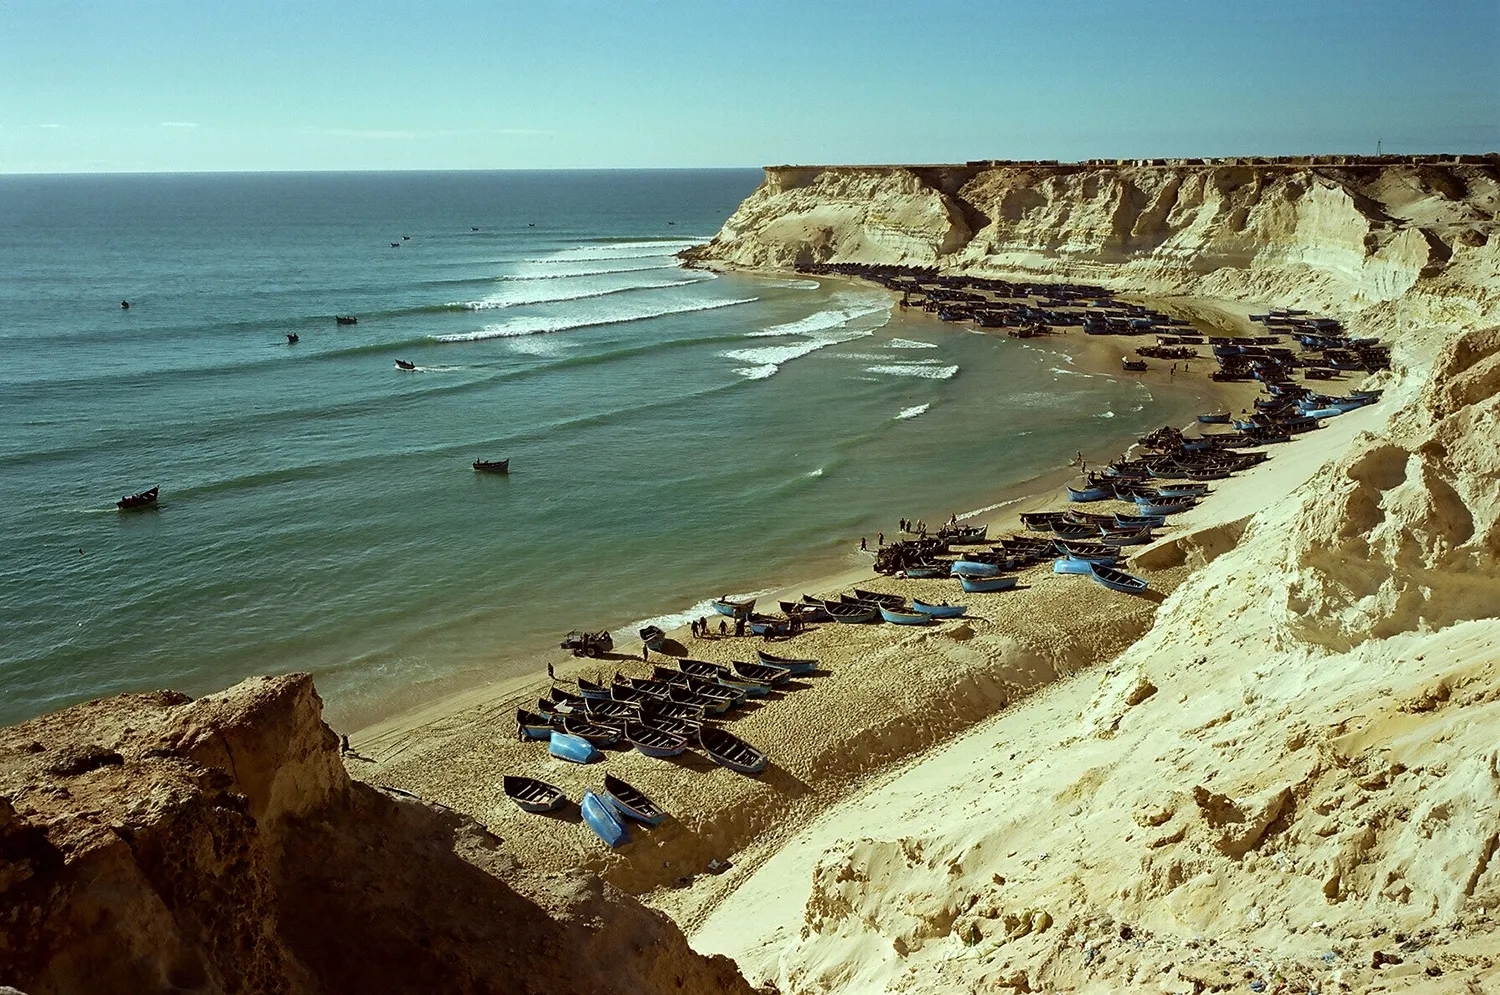
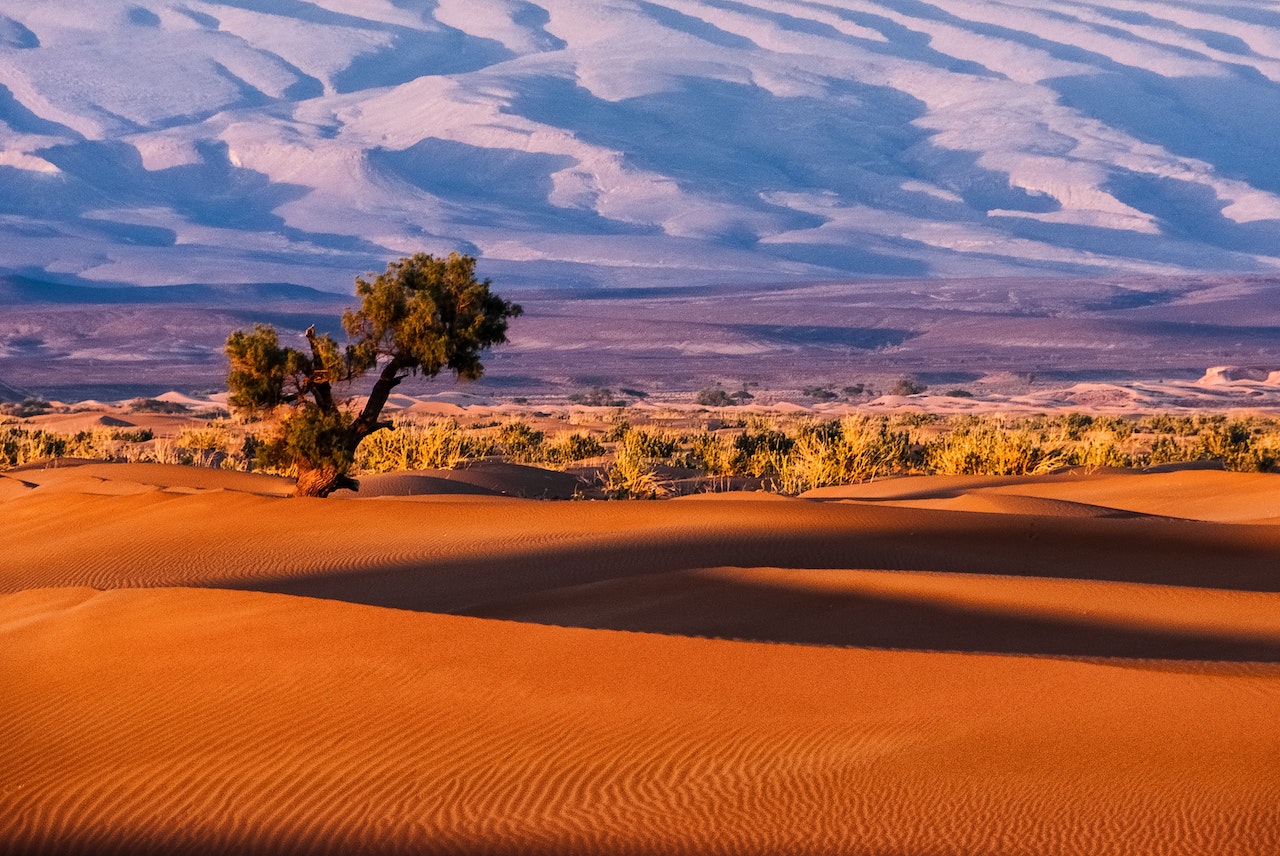
Western Sahara
Back to Part 3